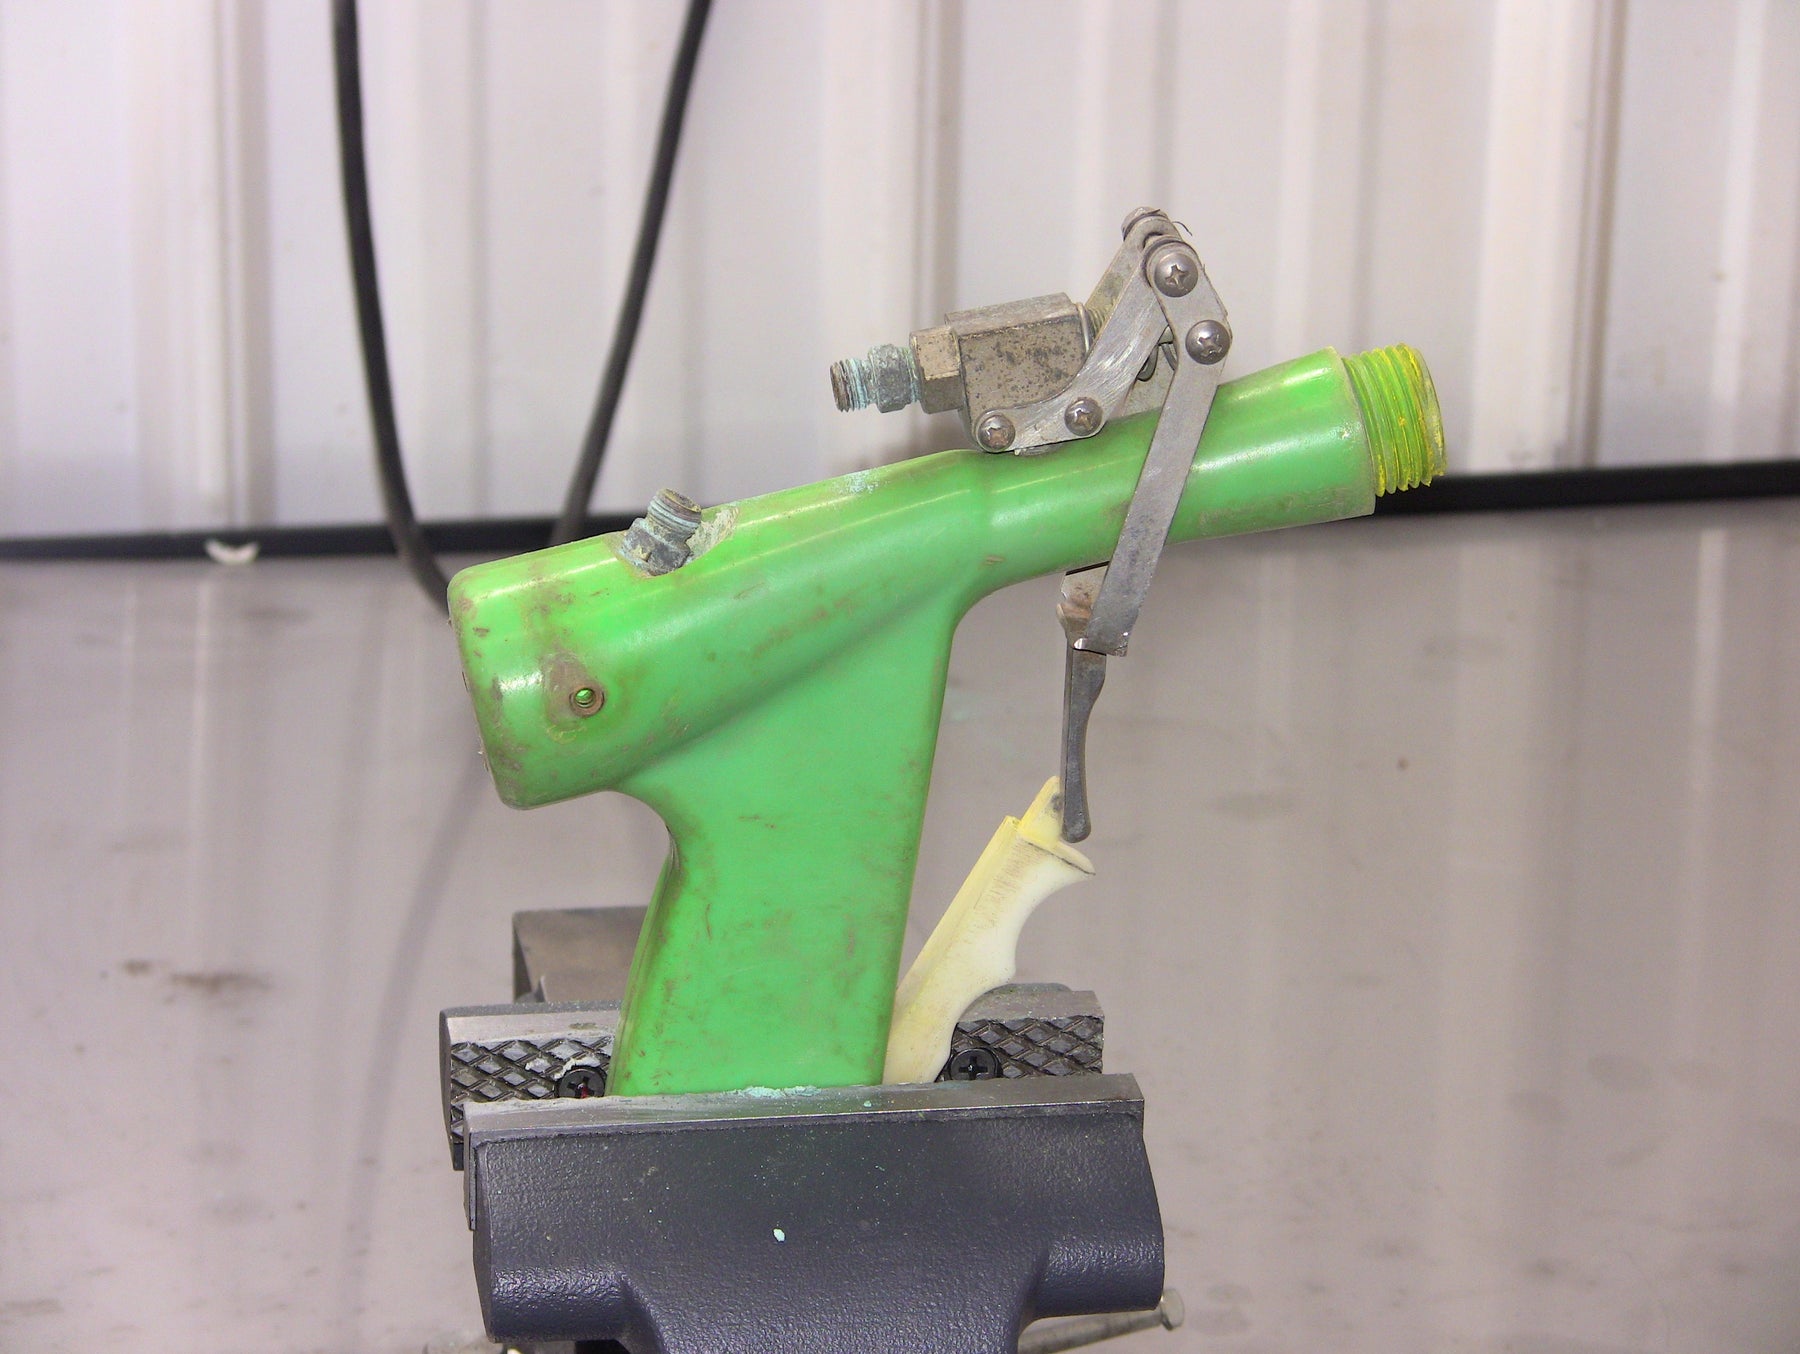
Rebuilding Gregson-Clark Injection Gun
The following are step by step instructions on replacing the top valve on the Gregson-Clark Eco-505 Injection Gun. Please contact us if you have any questions on the procedure.
Tools Needed:
8MM Socket or nut driver (actuator arm screws)
9MM Socket or nut driver (trigger screws)
#2 Phillips head screw driver
7/16 wrench
Replacement Parts Needed: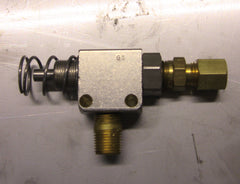
(1) Top valve kit, part # MJV-ENP-V-Kit
(1) 3/16" compression sleeve, part # 260-3
(1) 3/4" MPT x 1/2" hose barb, brass (optional)
Removing the gun from the hose:
Option 1:
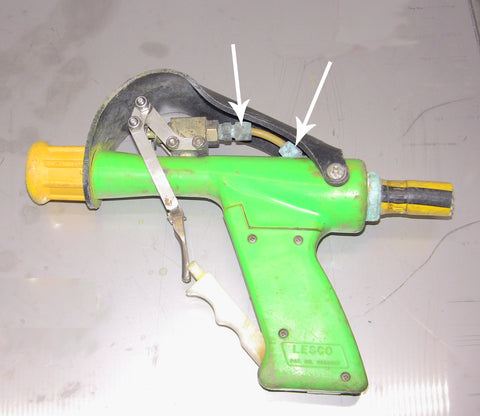
Remove the clamp from the 1/2" spray hose at the rear of the gun. Using the Phillips head screw driver, remove the two screws from the sides of the gun cover. Remove the nozzle and then the gun cover completely.
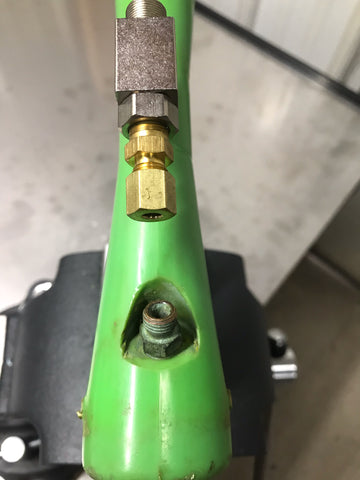
Using the 7/16 wrench remove the brass compression nuts from the compression fittings. One is located at the top valve; the other is located on the top rear of the gun. Once the nuts have been removed remove the compression sleeves from the nylon tube.
Everything can now be removed from the gun. You may need to use a heat gun to help remove the 1/2" hose from the barb at the rear of the gun. Once the hose is removed the tubing can be pulled through the gun.
Option 2:
Another option is to cut the hose and tubing completely off and remove the remaining hose and tube on a work bench. If this route is taken you will need to cut back the 1/2" spray hose to reveal more of the 3/16" nylon tubing for re-installation.
For this demonstration we cut the gun off the hose, removed the hose barb and then removed the nylon tubing.
Removing Top Valve Assembly:
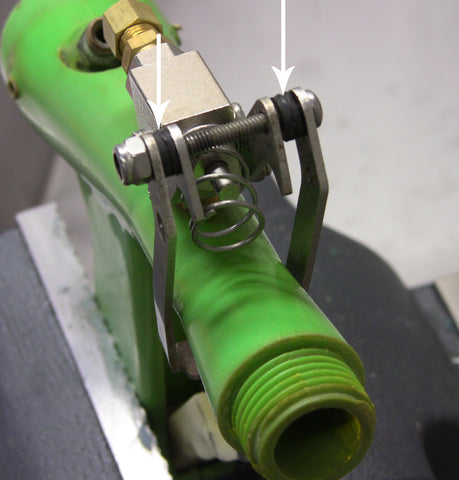
To remove the top valve assembly start by removing the trigger and two actuator arms. The trigger is attached with two screws and 9MM locknuts. The actuator arms are attached are attached to the valve block with two screws and 8MM locknuts. Remove the trigger and actuator arms placing the hardware off to the side. Make sure not to lose the spacers located on the top screw of the trigger assembly. Start with removing the trigger followed by the actuator arms.
With all the hardware removed from the top valve, we can remove the valve from the top of the gun. To remove the valve unthread, turning counter clockwise resulting in a bare gun with the exception of the compression fitting at the rear of the gun.

Installing New Top Valve Assembly:
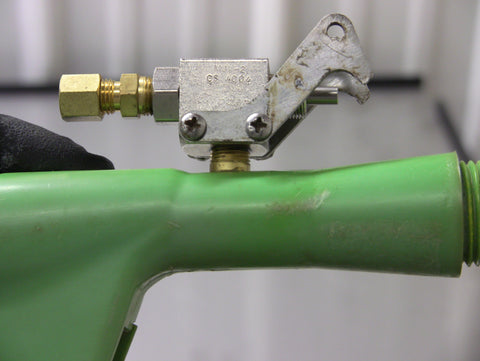
Start rebuilding by threading the new valve assembly into the top of the gun. When installing the new valve into the barrel use a thread lock agent.
Tighten the valve assembly as much as possible while aligning the compression fitting on the back of the valve with the compression fitting at the rear of the gun.
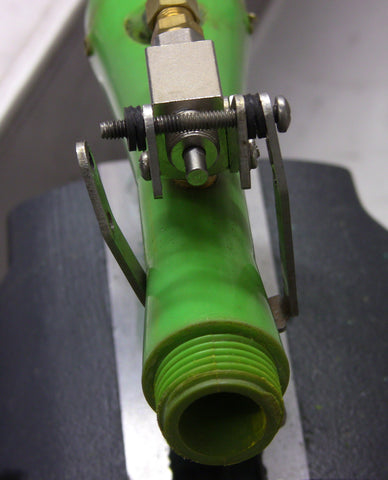
Replace the actuator arms on the left and right sides of the top valve. During the initial installation only tighten to snug. Any final adjustments will be made when the trigger assembly is installed. The actuator arms should sit flush with the bottom of the top valve assembly.
To install the trigger start by sliding the top screw through one side of the trigger. replace the two black spacers removed earlier onto the screw. Slide through the hole on the actuator arm. Continue to slide the screw through the second actuator arm followed by the other two spacers and then the last hole of the trigger. Once the screw has been installed tighten the locknut finger tight.
With the top screw in place the lower screw can be installed. Install the new spring that came with the kit onto the valve. Slide the lower screw through one side of the trigger and install the plunger spacer. Slide the screw through the other side of the trigger followed by the locknut.
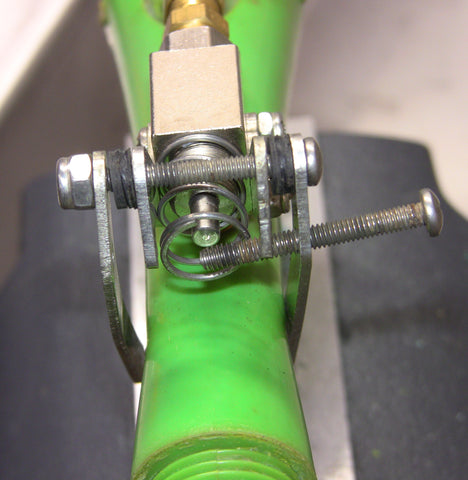
When tightening the locknuts on the trigger do not over tighten. The screw should just start to stick out of the locknut, this is considered tight. Over tightening will case the actuator arms to bend, causing misalignment issues.

With the trigger installed test the top trigger and ensure the top trigger has proper pull and alignment with the main trigger. If all is good return to the actuator arm screws and tighten fully. If alignment or stroke adjustments are needed the the actuator arms can be adjusted up or down. Once adjusted, tighten fully.
Before replacing the nozzle and top cover re-install the gun to the coax hose. For a step by step guide on gun installation see out instruction manual here.